How To Set Up A Grizzly Plough
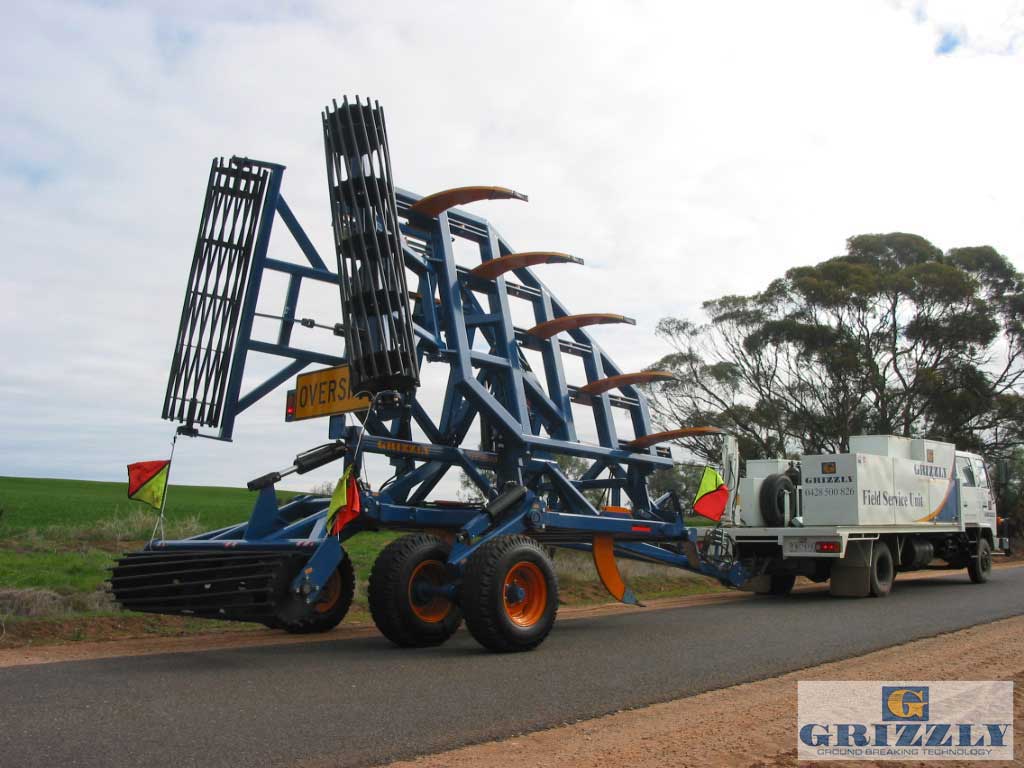
So, your Grizzly has arrived on the back of a truck, and now is sitting on your farm. Now what? Here are the key steps to getting your Grizzly up and running, ready to plough. Please note there may be some machine specific requirements and variations, so please refer to your Grizzly operators manual in addition to these instructions.
To set up your Grizzly there are some key components that need to be done correctly to achieve your desired result and prevent machine difficulties and performance issues. When referring to the left and right-hand side operating direction of the machine, this view is from the perspective of the ploughing direction.
Disengage Locks And Pins
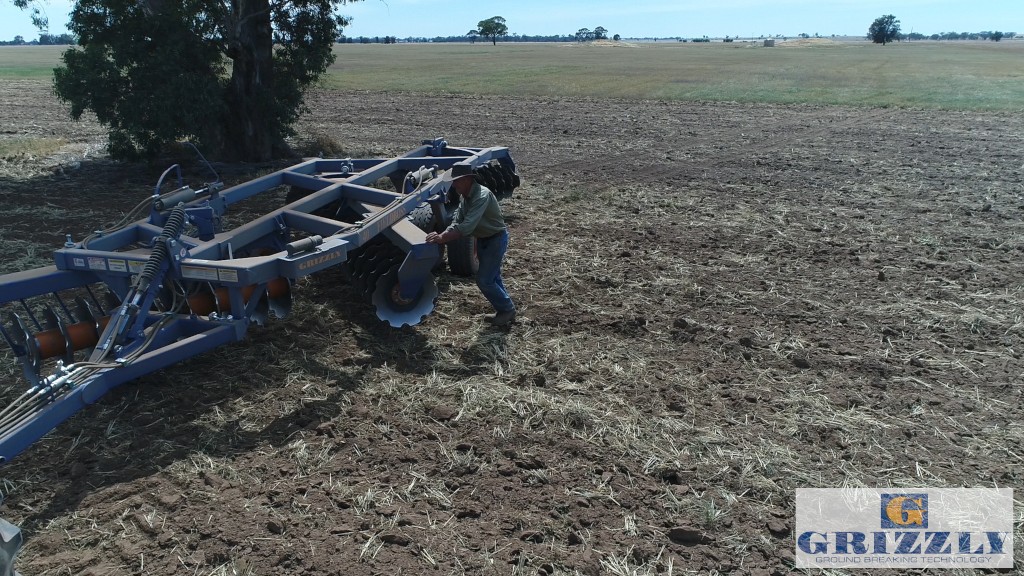
Beginning with the machine and hydraulics connected to your tractor. First of all, you will need to disengage the transport pins and locks. This step is essential, as it may cause damage to your machine.
The first lock to disengage is the pitch control “lock-up”. The pitch control “lock-up” is located between the mainframe of your Grizzly plough and the full frame (it may be located in the front, or below the pitch control cylinder depending on your model).
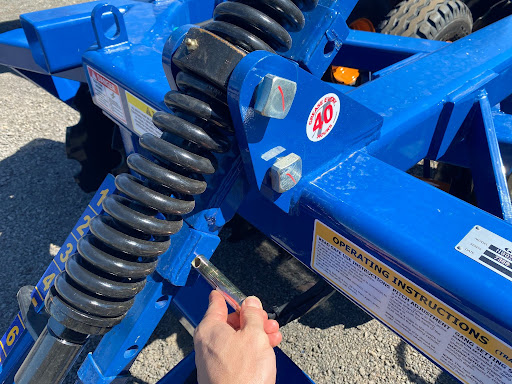
Above: Moving the bottom “lock-up” collar from transport position on the left into working position on the right
To disengage, remove the pins in the locking collar and slide the collar to the extremities of the square bar. You will now notice that the machine can be tilted forward and back with the pitch control cylinder while on the wheels.

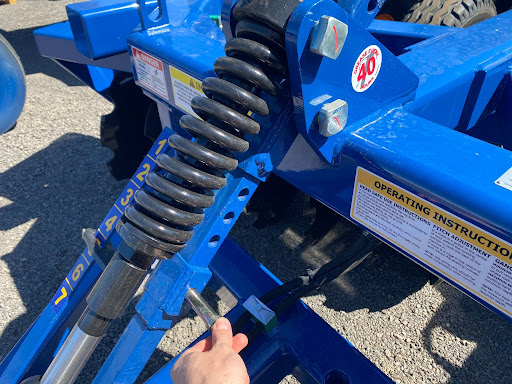
Above: Positioning the top “lock up” collar into the working position
The pins that need to be removed next are located on the wheel legs. These may be pins or may be a stopper that is placed over the shaft of the cylinder.
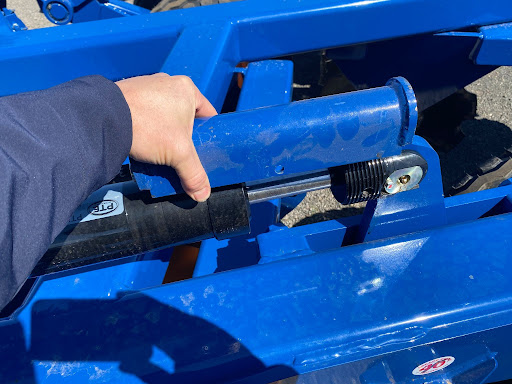
Above: Transport block which is positioned over the shaft of the cylinder. This should be used as a safety device only.
These are in place should a hydraulic failure occur when transporting your machine. Remove these then, lower your plough to the ground to ensure the area is clear and free of people and animals.

Above: Showing transport pin and location points on Field Master
Positioning And Set Up
Now that the pins and locks are disengaged and removed, unfold your Grizzly (if your Grizzly has folding capabilities, this can be done manually or hydraulically). If you’re unsure, please refer to the manual.
Grizzly or your local Grizzly dealer will have completed a pre-delivery checklist ensuring all parts are present, machinery checks are carried out, etc. If you’re setting up an old or preowned Grizzly, please refer to the operator manual to ensure it’s ready for use (if you have misplaced or don’t have your operators manual, contact Grizzly or your local dealer to receive a new copy).
Operating Your Grizzly
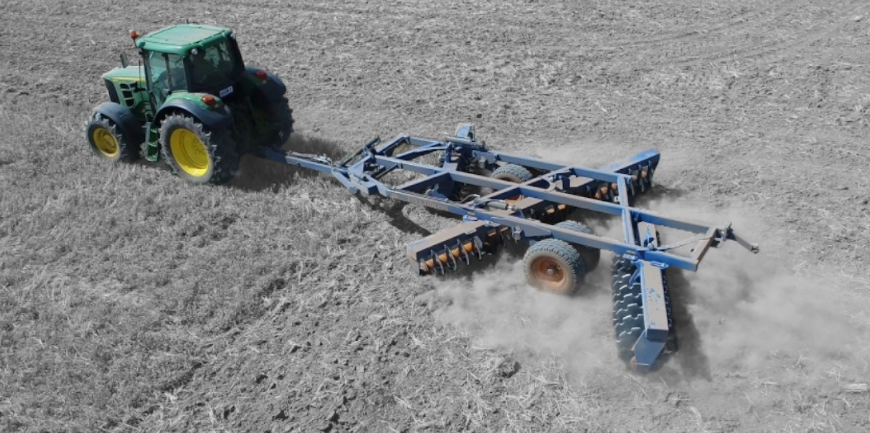
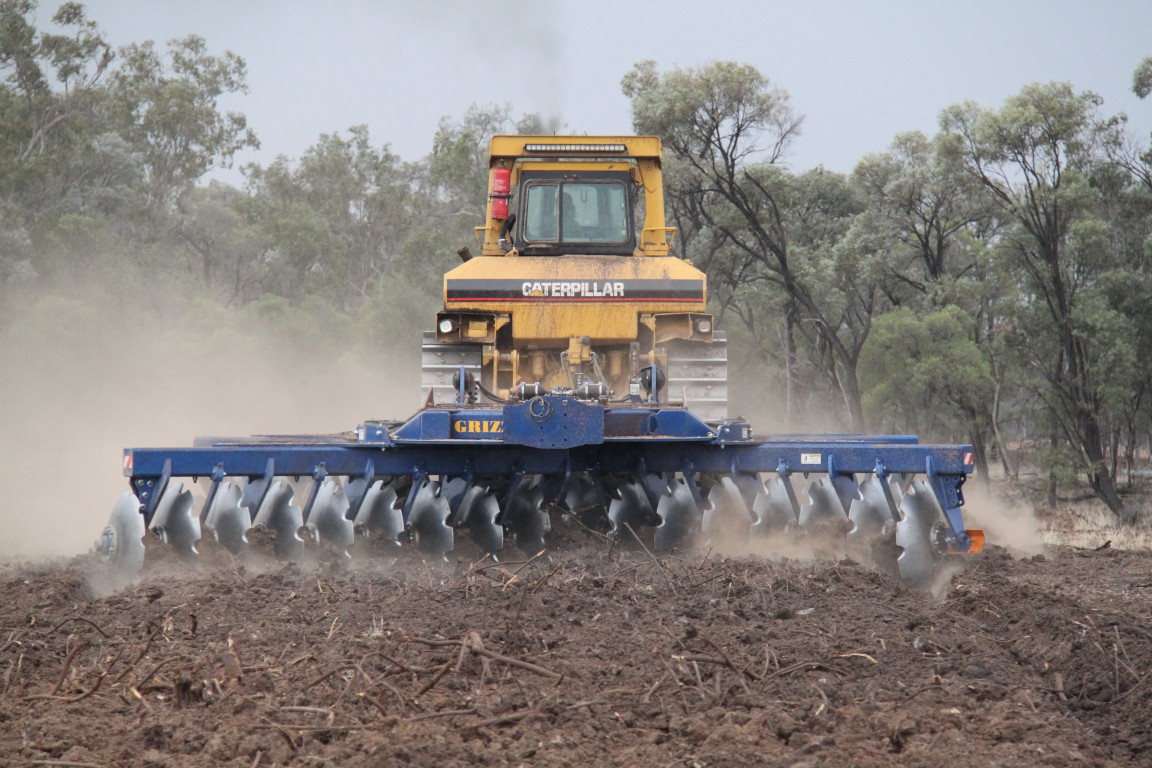
Once your plough is in the correct working position, choose the low-speed gear to start the machine. This will be approximately 5 to 6 kilometres per hour. Once your machine is moving forwards, slowly lower the machine into the ground.
After the initial soil cultivation, you can speed up to the machine’s intended operating speed between 7-9 kilometres per hour.
Complete a short run and check the result of the cultivation job. If adjustments are required, such as depth or pitch control, these will be evident in the result.
Troubleshooting
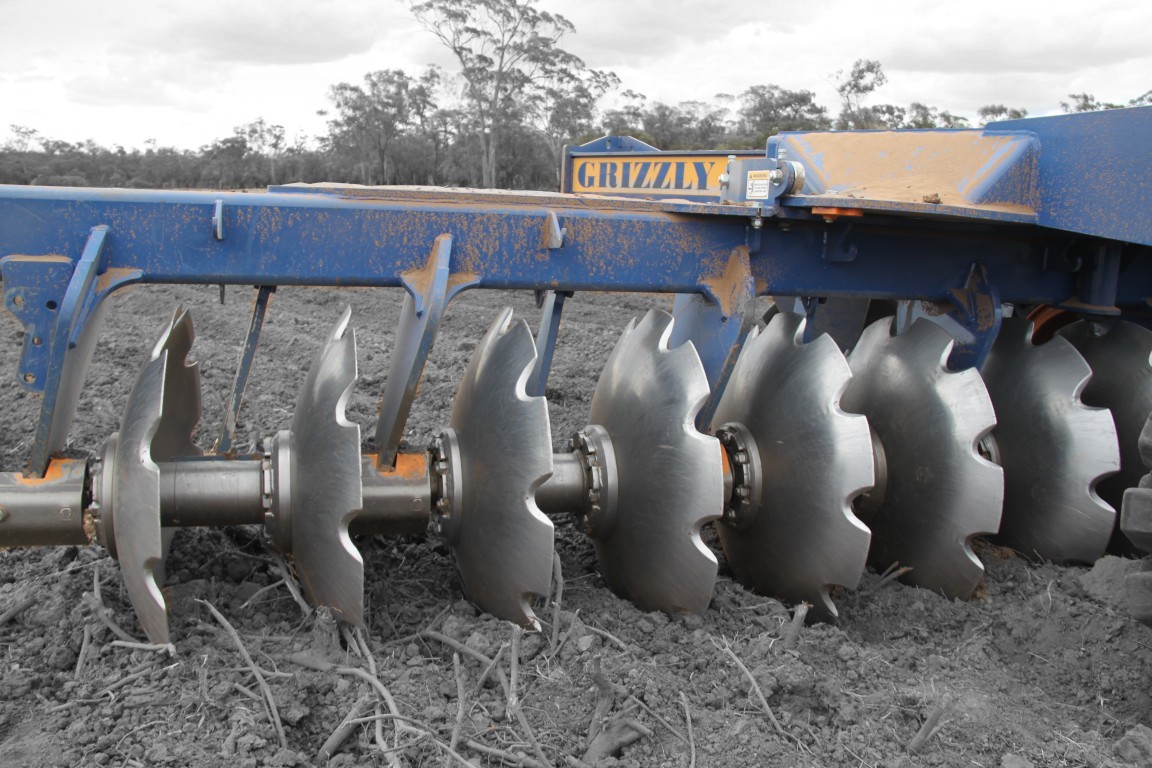
If you notice a ridge in the middle of your plough, it’s likely that the rear discs are cultivating more soil than the front discs. To remedy this, the front pitch cylinder needs to be shortened/retracted to enable the front discs to plough deeper and balance the machine.
And vice versa. If there is a hollow in the middle of your plough you need to machine adjustments to get the rear discs to work deeper to cultivate more soil. This is one of the most common mistakes made by Grizzly operators.
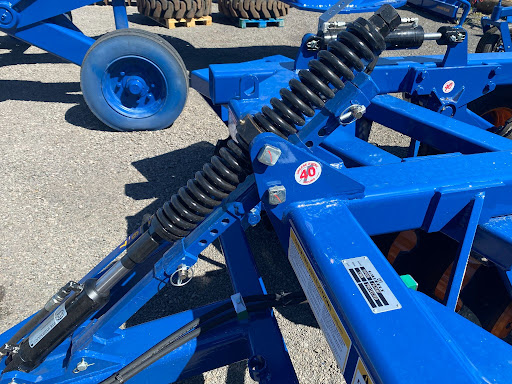
The springs on the front of your plough should be neutral to one another. Therefore, no pressure is put on the machine with the hydraulic pitch control for initial set-up.

Above: Spring shown in neutral position with the “lock up” disengaged. You can now tilt the machine forward and back with the cylinder to adjust the finish of the machine when working.
This can be changed once the machine is working and a result has confirmed adjustment is required in either direction.
After adjusting appropriately, it’s time to check the finish on the outside of the machine. This aspect is mostly affected by the speed of the ploughing.
If you’re finding a high rill of soil on the outside of the machine working, and a low hollow just inside this, this indicates the soil is being thrown too far by the lead discs and the machine is being used at a speed too fast for the conditions. If this is the case, you will need to slow down your operation to improve the finish.
It is important at headlands to always lift the machine. Not doing so will put excessive load on the pull and components of the machine, potentially causing premature failure.
Australian Made
Family owned and operated as well as Australian Designed and built for Aussie farmers and Aussie conditions.
Aussie
Made
![]()

If you’re unsure or want to get the most out of your Grizzly, every Grizzly comes with a manual to walk you through the steps. If you look after and maintain your Grizzly, you’ll have many years of trouble-free service and high-performance farming.
Talk to Grizzly
How to Control Feathertop Rhodes Grass

Differences Between A Disc Plough and A Disc Harrow
How To Set Up A Grizzly Plough
Disc Ploughs Best Suited for Road Transport
When Speed Is Not Always The Answer
Australian Made Farming Implements
Disc Bankers for Irrigation Farming and New Developments
Best Tillage Equipment for Organic and Non-Organic Farming Practice
Tillage to Increase Crop Yield
Irrigation Preparation: Made Easy With Grizzly
Land Development for Agriculture
Heavy Offset Disc – The Basics and the Grizzly
Tillage to Maximise Stock Numbers
Grizzly a Local Family Business
How to Manage Soil Compaction Issues
Seed Bed Preparation in Tough Conditions
What Cultivation Best Suits My Crops